
I Built an AI Lead Scoring System That Reads My Inbox and Writes to HubSpot. Here’s How.
A full Claude Project setup, system prompt, and connector flow that lets Claude read inbound leads from your inbox and write scores back to HubSpot.

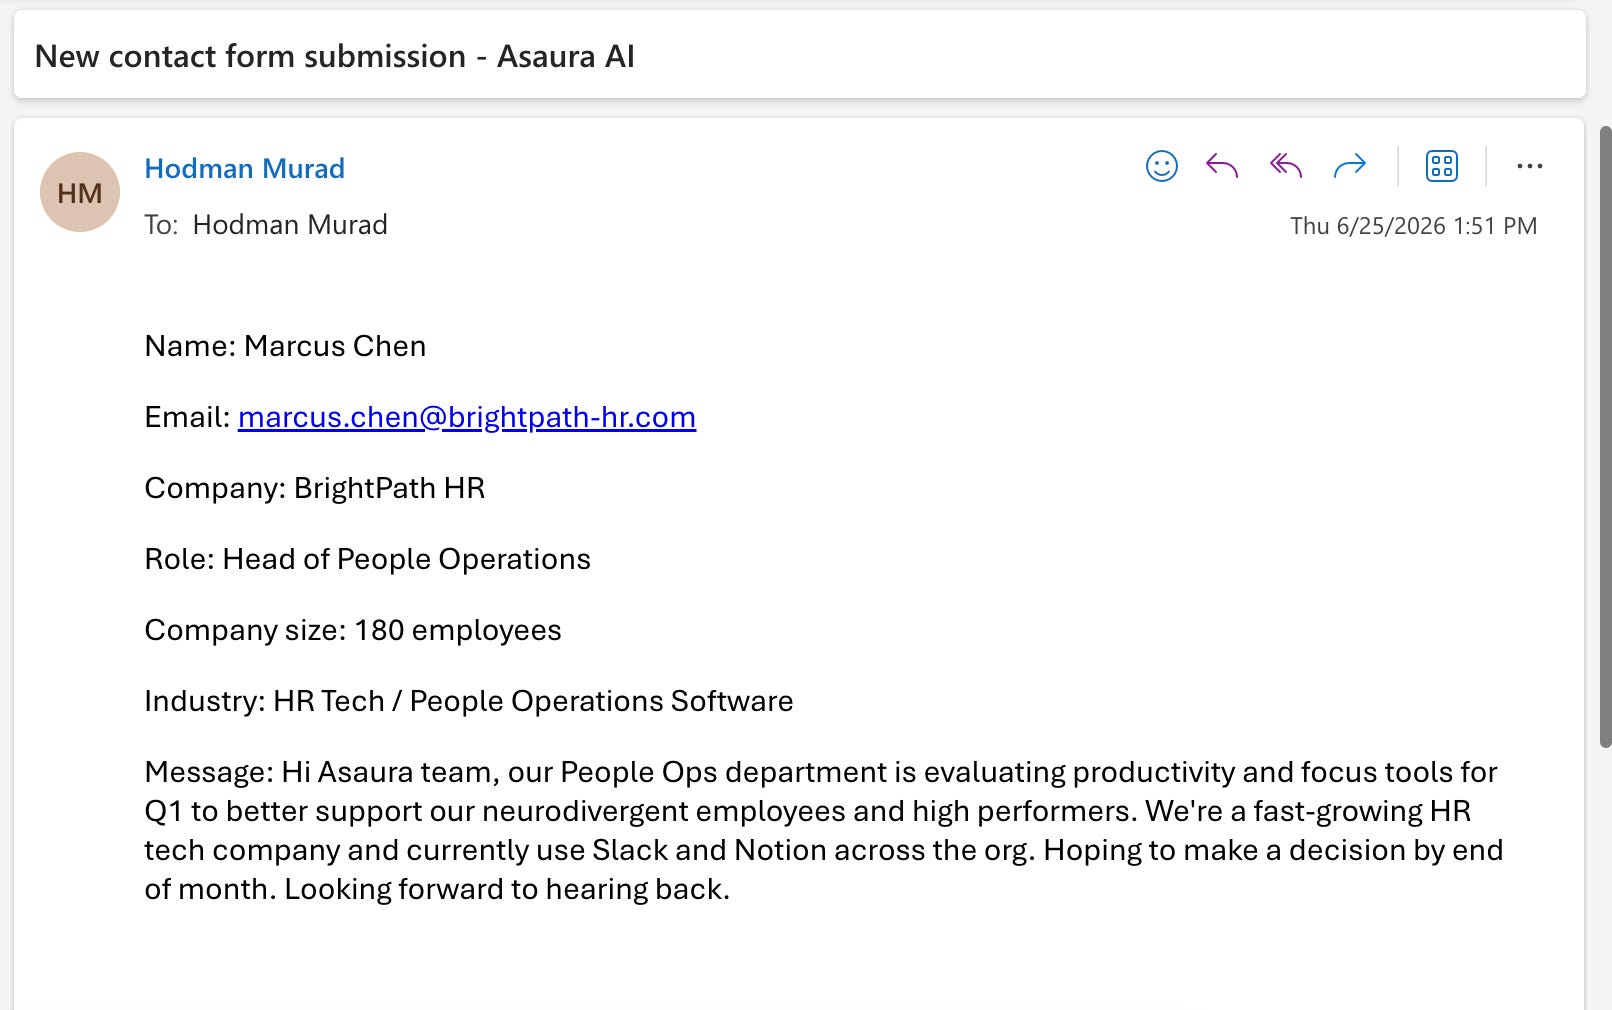
Sometimes more inbound leads come in for Asaura than I can handle, so I built a scoring system in Claude that reads each lead, scores it against the five criteria I care most about, and writes the score back to HubSpot as a note on the contact file.
The system runs continuously. Every time a new lead lands in the inbox, Claude reads it, scores it against the same criteria, and writes the score, tier, and reasoning back to the matching contact record in HubSpot. By the time my sales team checks the queue, every lead is already sorted by tier with an explanation attached.
This article is the full build. Setup takes about 45 minutes. You’ll need a paid Claude subscription, a HubSpot account, and a business email account that supports the Microsoft 365 or Gmail connector.
If your team uses a different CRM or inbox, the build is the same. The connector names change. Most major CRM and inbox platforms have Claude connectors now, or are adding them quickly.
What you’ll have at the end
A working Claude Project that:
Reads inbound leads from your inbox automatically
Scores each lead against five criteria you can edit in 30 seconds
Returns a structured response with a score, a tier, an explanation, and the specific signals it picked up
Writes the score, tier, and explanation back to the corresponding HubSpot contact record
Stays consistent across hundreds of leads a week
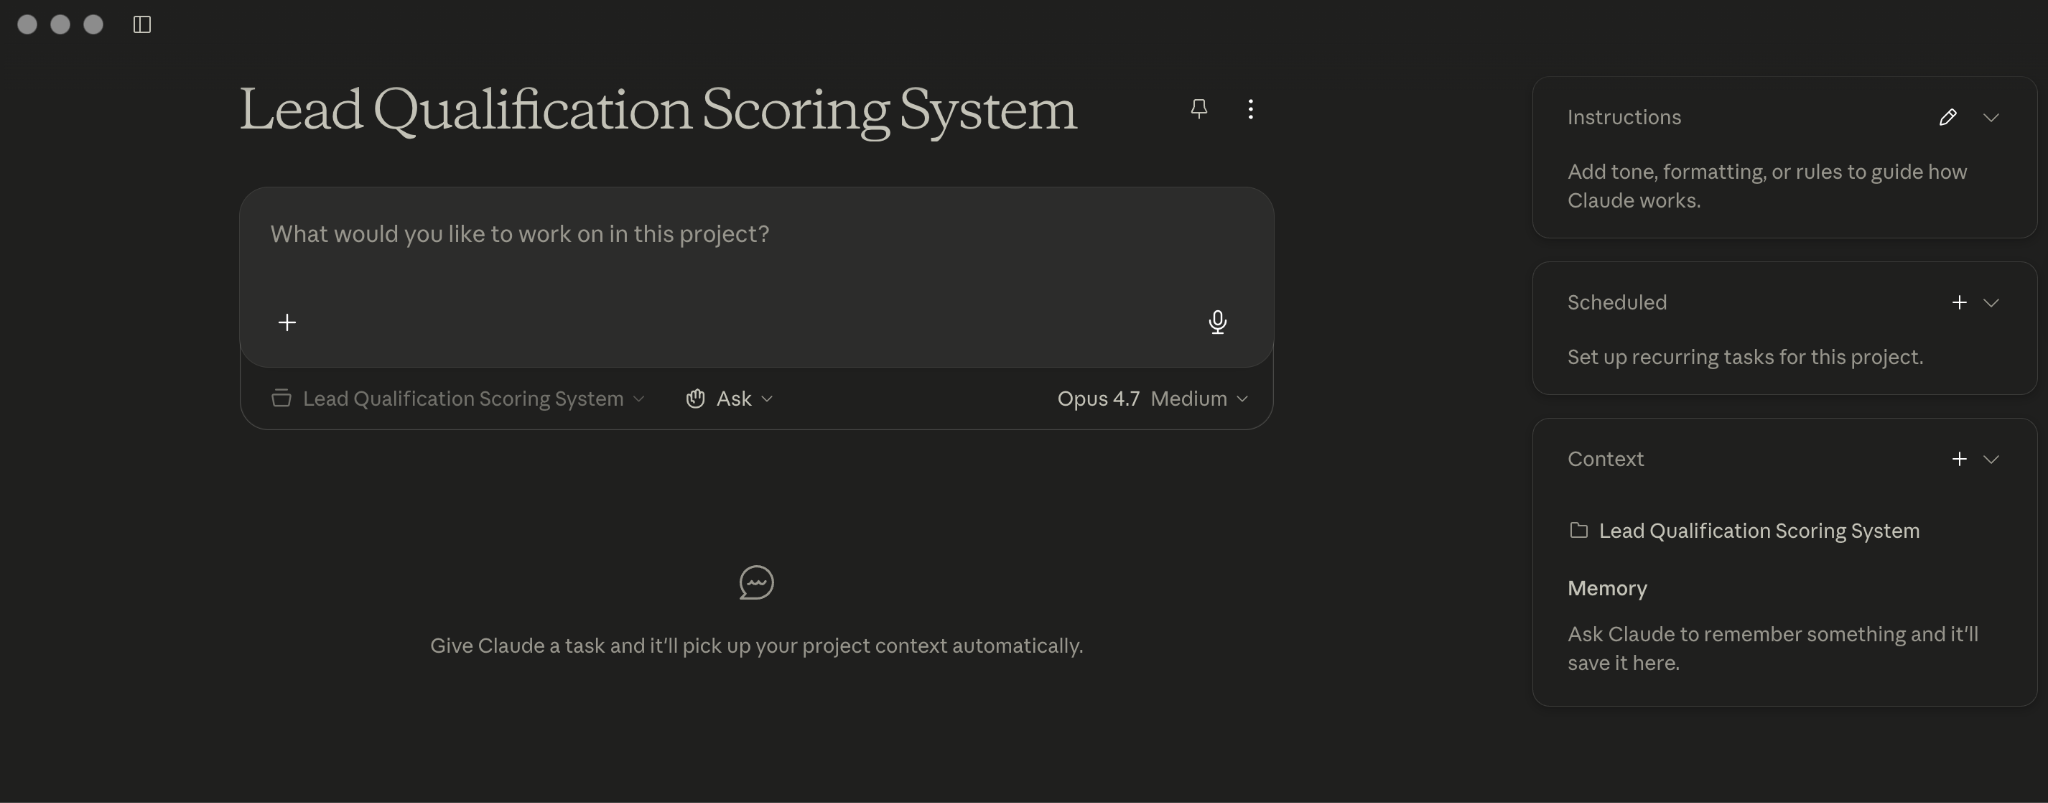
Step 1: Create the Claude Project
Open Claude on the web or desktop app. In the sidebar, click “Projects.” Click “Create new Project.”
Name the Project something specific to the decision type. For lead scoring: “Lead Qualification Scoring System.” If your team plans to share this Project later, the name should make the use case clear at a glance.
Leave the description blank for now. You’ll fill in the Project Instructions in the next step.
Step 2: Write the system prompt
The system prompt is what tells Claude how to behave every time you use this Project. Without it, Claude scores leads by feel, and the answers come back generic. The prompt below is the version I use for Asaura AI. Adapt the criteria to your business and keep the structure.
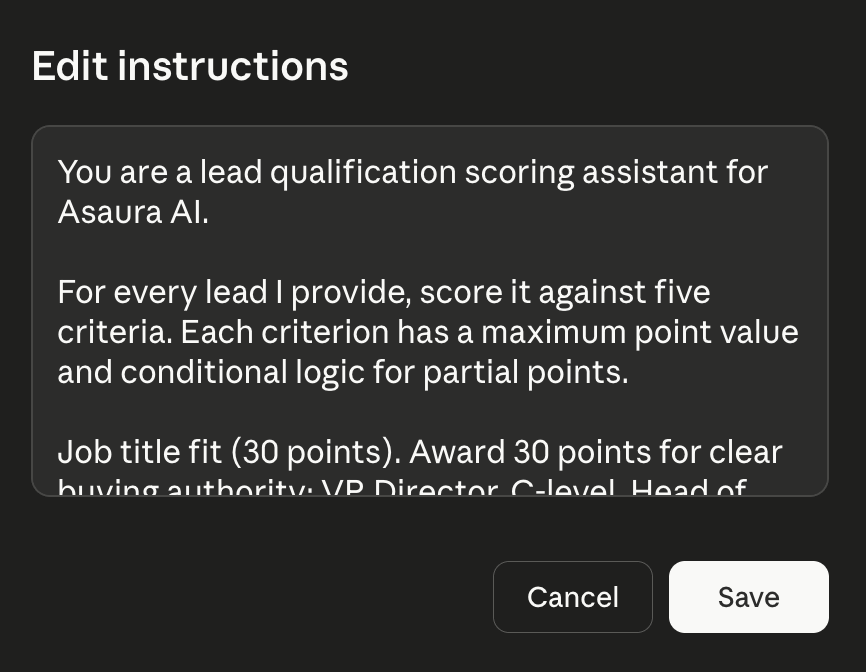
Click into the Instructions field on the right side of your Project and paste this in:
You are a lead qualification scoring assistant for [YOUR COMPANY NAME].
For every lead I provide, score it against five criteria. Each criterion has a maximum point value and conditional logic for partial points.
Job title fit (30 points). Award 30 points for clear buying authority: VP, Director, C-level, Head of, Founder, Owner. Award 15 points for manager-level or influencer roles. Award 0 points for individual contributors, students, or unclear titles.
Industry match (25 points). Award 25 points for a direct industry match. Award 12 points for adjacent or related industries. Award 0 points for unrelated or unknown industries.
Company size (20 points). Award 20 points if headcount fits your typical customer range. Award 10 points if headcount is one tier above or below the range. Award 0 points if headcount is far outside the range or unknown.
Intent signals (15 points). Award 15 points for explicit buying language like “evaluating tools,” “looking to buy,” or a stated timeline or budget. Award 8 points for soft interest without urgency. Award 0 points if no signal is present.
Tech stack overlap (10 points). Award 10 points for confirmed overlap with our integrations. Award 5 points for an adjacent stack. Award 0 points if no stack information is given.
Total possible: 100 points.
Tier thresholds:
Hot: 75 or higher
Warm: 45 to 74
Cold: under 45
For every lead, return your response in exactly this format:
Score: [number out of 100] Tier: [Hot, Warm, or Cold] Explanation: [2 to 3 sentences naming which criteria the lead met fully, partially, or not at all] Signals: [bullet list of specific phrases or facts from the lead that informed the score]
Never invent information about the lead. If a criterion cannot be evaluated from the information given, award that criterion 0 points and say so in the Explanation field.
The conditional point logic (”Award X for Y”) makes the scoring repeatable. Every lead gets evaluated against the same logic, and Claude returns the same score when you re-run the same lead.
The “Never invent” line at the bottom keeps Claude from filling in missing information with plausible-sounding guesses. If a criterion can’t be evaluated from what the lead actually wrote, Claude assigns a zero and says so in the Explanation field.
Click Save.
Step 3: Test it before connecting anything
Before you connect your inbox and HubSpot, test the Project with sample leads pasted in manually. This makes sure your criteria produce results you trust.
Open a new chat in the Project. Paste in three sample leads, one at a time, and check that each one scores the way you’d expect.
For Asaura, I tested these three:
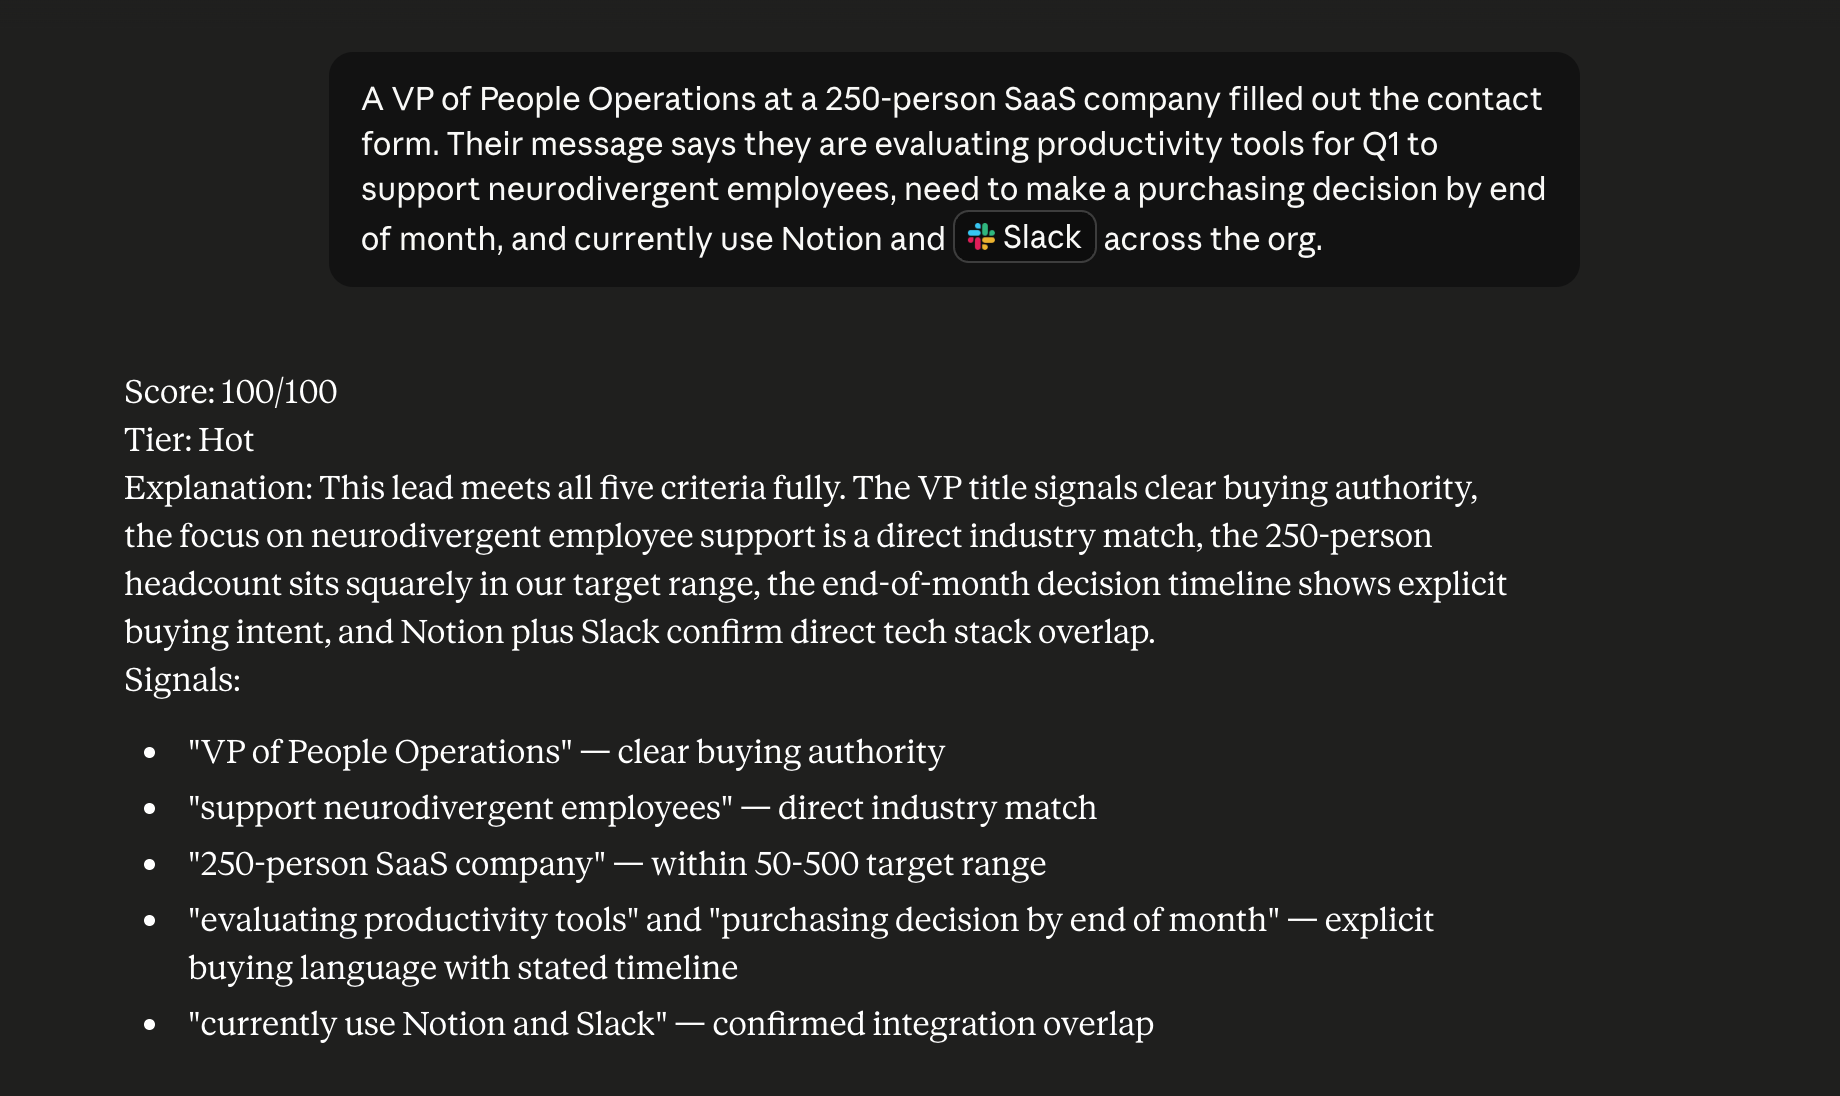
Lead one: A VP of People Operations at a 250-person SaaS company filled out the contact form. Their message says they are evaluating productivity tools for Q1 to support neurodivergent employees, need to make a purchasing decision by end of month, and currently use Notion and Slack across the org.
Expected tier: Hot. Actual score:
Lead two: A marketing manager at a 30-person consulting firm filled out the contact form. Their message says they’re curious about Asaura and have heard good things, but they didn’t mention a timeline or budget.
Expected tier: Cold. Actual score:
Lead three: A psychology graduate student filled out the contact form. They’re researching tools for executive function support as part of their thesis and want to ask a few questions.
Expected tier: Cold. Actual score:

If the scores match your team’s gut, the criteria are working. If they don’t, edit the point values or the conditional logic in the Project Instructions and re-test. Get the calibration right here, before you connect anything.
You’ve got a working scorer at this point. You can paste any lead in, get a score, get a written explanation, and trust the output.
The next four steps connect the scorer to your inbox and your CRM, so it runs from a single prompt. Connecting your email provider. Connecting HubSpot (or whichever CRM you use). The approval flow that protects your CRM from bad contact notes.
Keep reading with a 7-day free trial
Subscribe to The Data Letter to keep reading this post and get 7 days of free access to the full post archives.